

The reason for this project was that I wanted an electric bike but did not want to shell out a ton of cash because how hard could it be, right?  The scale of this project was very large, involving design, sourcing components, and assembly. The real challenge was doing it on an extreme budget. causing me to find clever workarounds like building my own spot welder using a Raspberry Pi and an old microwave I got my grandfather to buy me at the Goodwill thrift street Just a quick shout-out to my grandfather, as he is really an awesome guy. I will write a post all about him in the future, but he has been very influential in supporting my hobbies. He has done so much for me over the years, including gifting me a quality Weller soldering iron when I was in middle school, bringing me a briefcase for a project I had trouble sourcing when I was living in the UK, and finally taking me to Goodwill to buy a microwave. The fact that he supported me and trusted me with my crazy ideas means a lot to me, and I am very grateful for that.
Design
 The design of the battery is 13 cells in series, with each packet having 4 in parallel. The reason for this design is the 18650 cells in series get to over the desired 48V AC, accounting for voltage drop. Wiring 4 cells in parallel provides me with up to 20 amps of current draw safely, which is a LOT. This design was needed for the 1000W motor I bought, which means the electric bike goes fast. For context, many off-the-shelf e-bikes run on 250 to 500W with the max street legal limit set at 750W. Also, most of the batteries run at 36 volts, which would not work for my build without the wires physically melting and risking the batteries exploding. The resulting design has a total of 52 cells and a total capacity of over 11 Ah.
Sourcing components
The batteries were the most expensive item and led me down a deep rabbit hole learning why all 18650 cells are not built the same. To sum it up quickly, the voltage drop-off capacity and max current draw are the three main factors when choosing a good battery. To not have my batteries blow up or catch on fire, I wanted to get some good-quality Samsung ones; however, those cost upwards of 4 to 5 dollars each—well, too expensive. This led me to a very clever idea I am personally very proud of, mainly because it worked. After stumbling on a vendor selling refurbished Samsung 18650 cells at a discount, I looked into what products had these Samsung cells in them. After a ton of research dead ends and calls to recycling plants, I eventually found an eBay listing selling a bulk pack of nonworking laptop batteries. I bid on it and ended up with 10 nonworking laptop batteries for only 60 dollars. The key was inside of each of these batteries; they hide eight 18650 cells from Samsung.
The battery factory
 Now I had to carefully take apart each of these batteries, making sure to not blow myself up. and at the end I had more than enough batteries for my project. The next issue was figuring out what batteries were good and which ones were bad. As the batteries were sold as nonworking, I could assume that some of the cells inside would not be any good. At this point I knew that I could afford for there to be around two bad cells in every batch, which seemed like a safe assumption.
Now testing these cells may seem simple, but there is a ton to do to make sure you know the battery is good. First, I was able to measure all the cells and sorted them according to voltage, where many ended up around 1.5 to 0V. I first chose to use the IMAX B6 battery charger in a custom rig to charge and discharge four cells at once. Long story short, do not buy this charger. Despite at the time having tons of good reports from electronics and hobby forums at the time when I bought it
The market had just been flooded with fakes. While they still did work pretty much the same, they used cheaper components like capacitors, which I discovered after taking it apart. There is so much false info on so many of these chargers, so the only thing I recommend is reading the spec sheets. The popular ones on Amazon work and are cheap, which is why they are popular, but you are basically gambling that something won’t catch on fire. I settled on the XSTAR VC4 charger and liked it so much I ordered another. While more expensive, do not cheap out and get anything you are not fully confident in. Next began the process of making sure all the batteries are good. The process involved trying to jump-start the dead ones, charging them fully, and discharging them Using a rig I made hooked up to a fan, I charged and discharged them once again and now measured the capacity. This entire process went on for around a month. and after I sorted the cells by capacity. I ended with 64 good Samsung cells, which is a killer deal for what I spent on them.
Assembly
Spot welder
 I really, really wanted a battery spot welder, but buying one would defeat the purpose of the extreme budget build, as a used one would still cost over 100 dollars. “Therefore I made one myself” is pretty much my motto at this point. I did so by taking apart a cheap microwave and getting the large transformer from it. Basically how microwave transformers work is they convert wall AC power to very high DC voltage at a low current. The secondary output coil does this by many wrappings of high-gauge copper wire. I knew welders were low voltage, high current, so I removed all the top coil wire and replaced it with low-gauge copper wire with around 6 wraps or so. Now it was simply a matter of a Raspberry Pi with a relay board, a little code, and a rig made of wood and rubber bands, and I was done That was the very simple explanation for it, but it was much more in-depth and involved a little more math than I am letting on.
Nickel strips
You want to use real nickel strips when welding the batteries together for low resistance and good welding results. Unfortunately, the majority of pure nickel strips are nickel-plated steel or other cheaper metals. From my experience, I was smart enough to order small batches from a few different vendors before making my big order.
Out of the three I bought, only one was genuine. I tested this by cutting it into pieces, sanding them down, and leaving them in salt water for a few days. Sure enough, two of them had gone red due to the rust forming from the steel. The lesson is to always test your products and don’t trust vendors or people who got scammed and are leaving good reviews.
A mistake
 One thing I would change would have been to not hot glue the batteries together. While it works, it would have been better to make my own 3D-printed rig. I know this and chose to do it anyway, as I did not have a 3D printer at the time and was impatient. The reason would be to allow a little airflow between the batteries to help with cooling a little, even though with four in series the heat was not an issue.
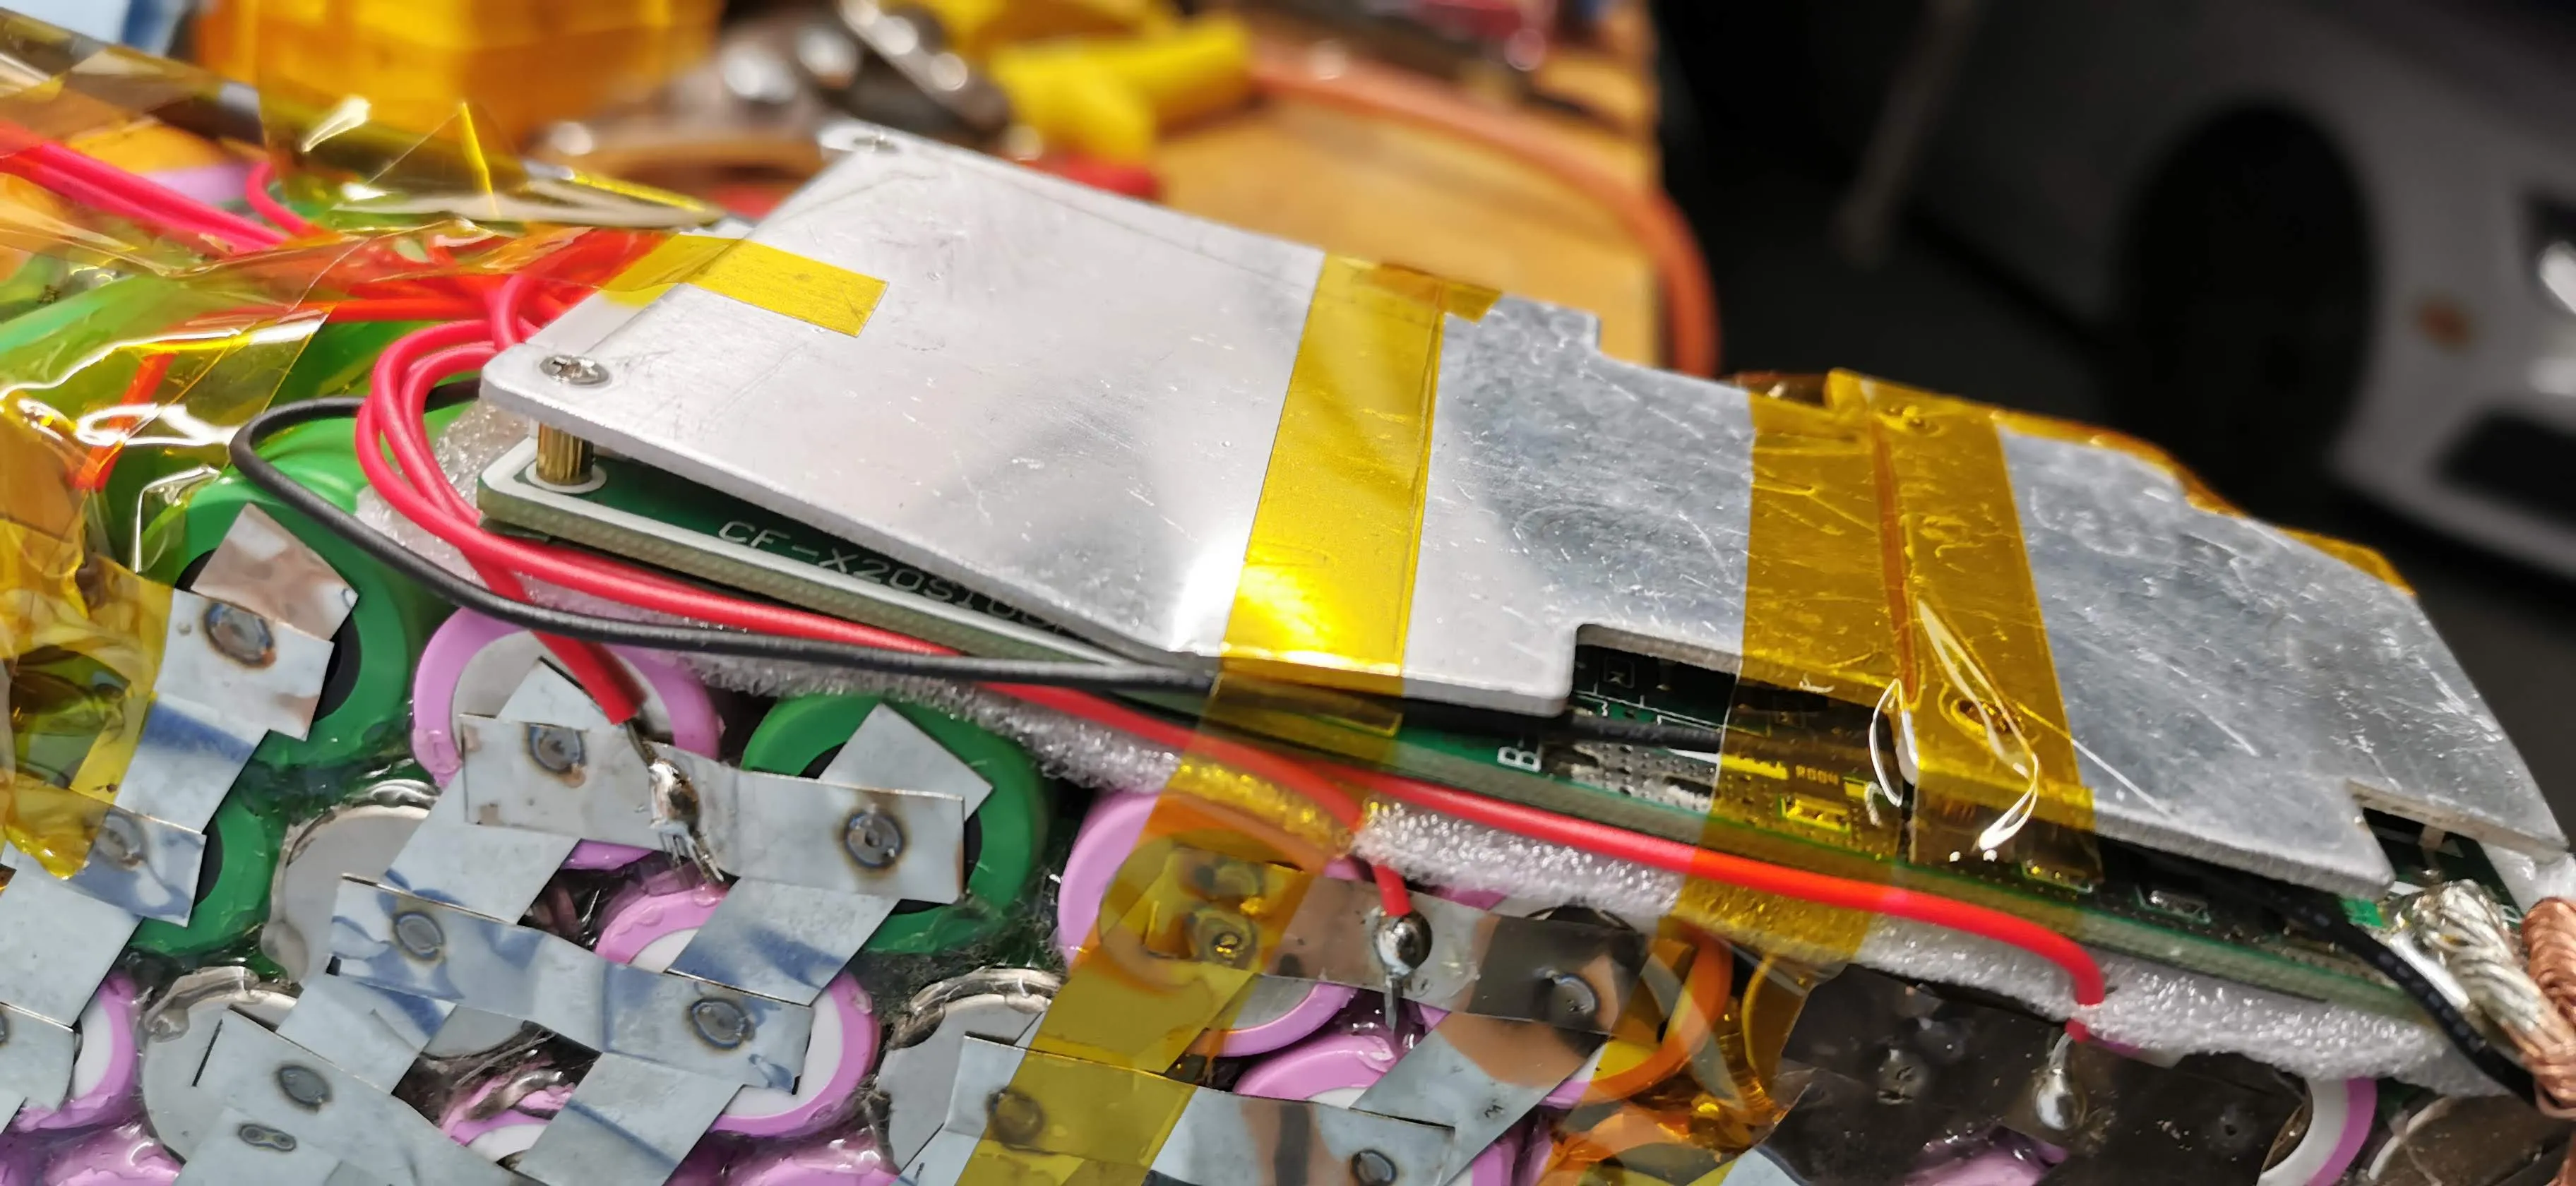
BMS
I got a custom BMS made from a nice factory in China. This way I could make it to my own specs. basically one line for each group of four cells that are in parallel The BMS handles current and charging very well, so it was smart to get a good one, especially based on the source of my batteries. Without a BMS, it is basically suicide, as some cells will be overcharged and others will be undercharged. This is why I grouped the cells by capacity to get the most from each group. It was easy to put together, and I just needed to be careful when wiring it up to not short anything out. Lastly, I put a little foam and shrink-wrapped the whole thing, which was the best part of it all. I also used XT60 connectors for the main connection, which I really love and personally think should be used more.
Closing
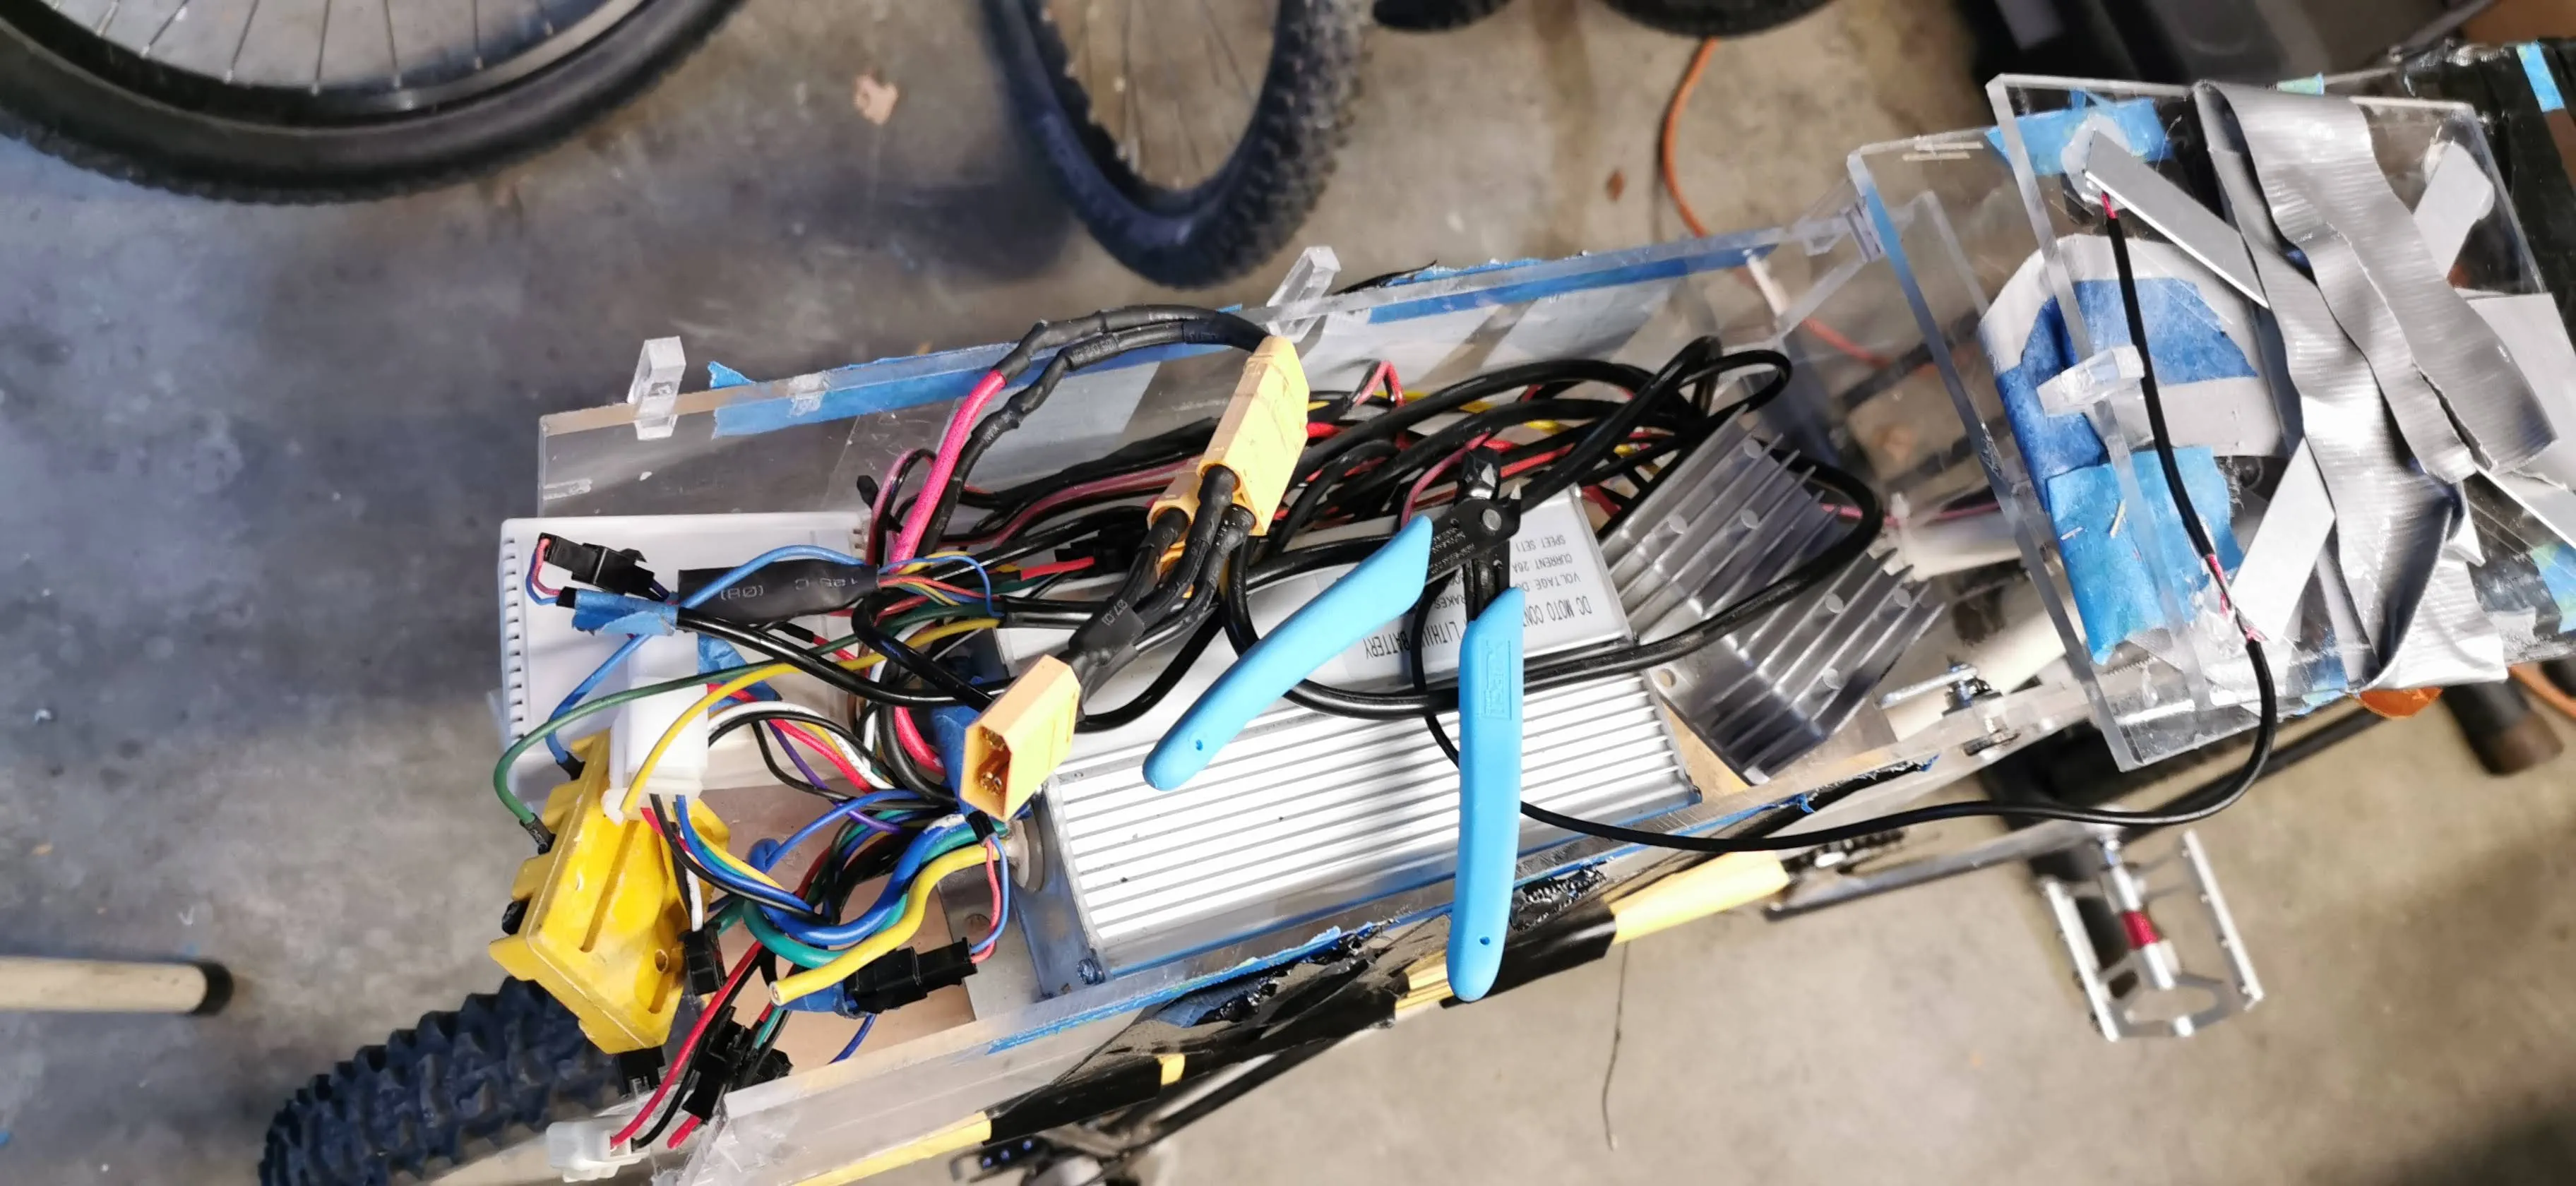
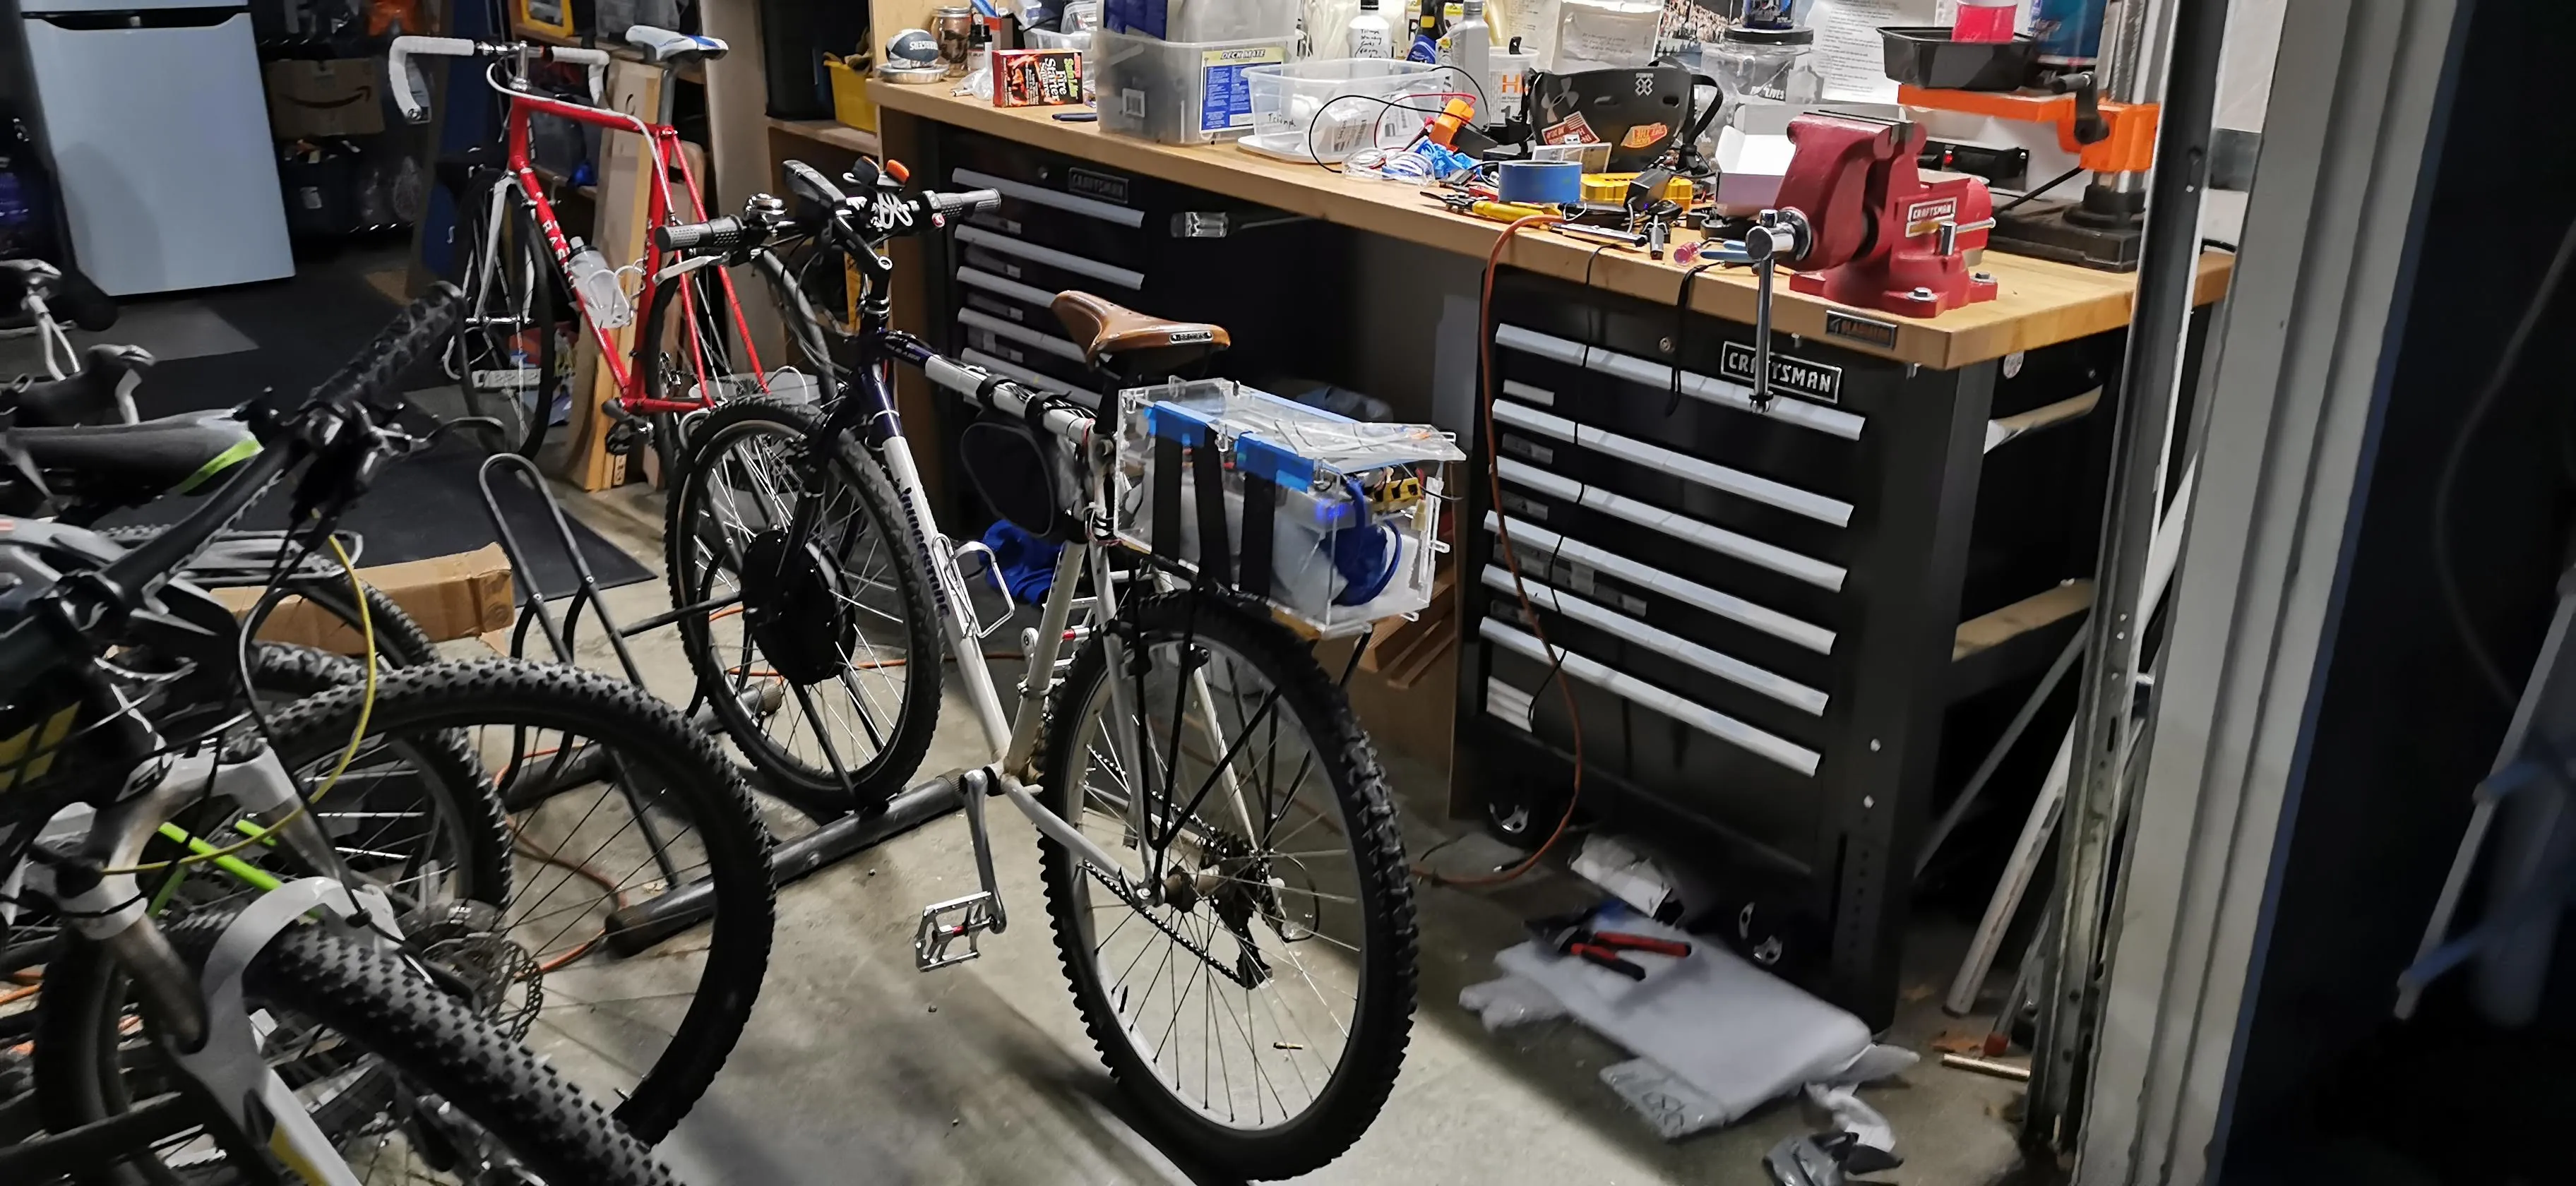 That was about it! I bought a charger that I rewired to XT60 and added a battery charge monitor, and I was good to go. Worked amazingly for the e-bike, providing me crazy acceleration even up steep hills. Very proud of how this turned out. The entire cost of the battery was under 150 dollars and is better than anything you can buy off the shelf in terms of weight to performance due to the superior Samsung cells. A fun node—I also hooked it up to an inverter. I used it to power my desktop PC during a power outage. My favorite thing I did was hook it up to the vacuum, basically building my own portable vacuum without worrying about the wires. The most impressive part was I did not burn down the house and only got shocked one time when I was trying to plug in the battery monitor board.